
Terminal 1
Domestic
Qantas & QantasLink
North wing of the main terminal complex. Direct ground walkways and internal corridors from the multi-level parking deck.
Walk from T1-T3 Deck:
3–5 mins
Pedestrian Path:
Covered concourse
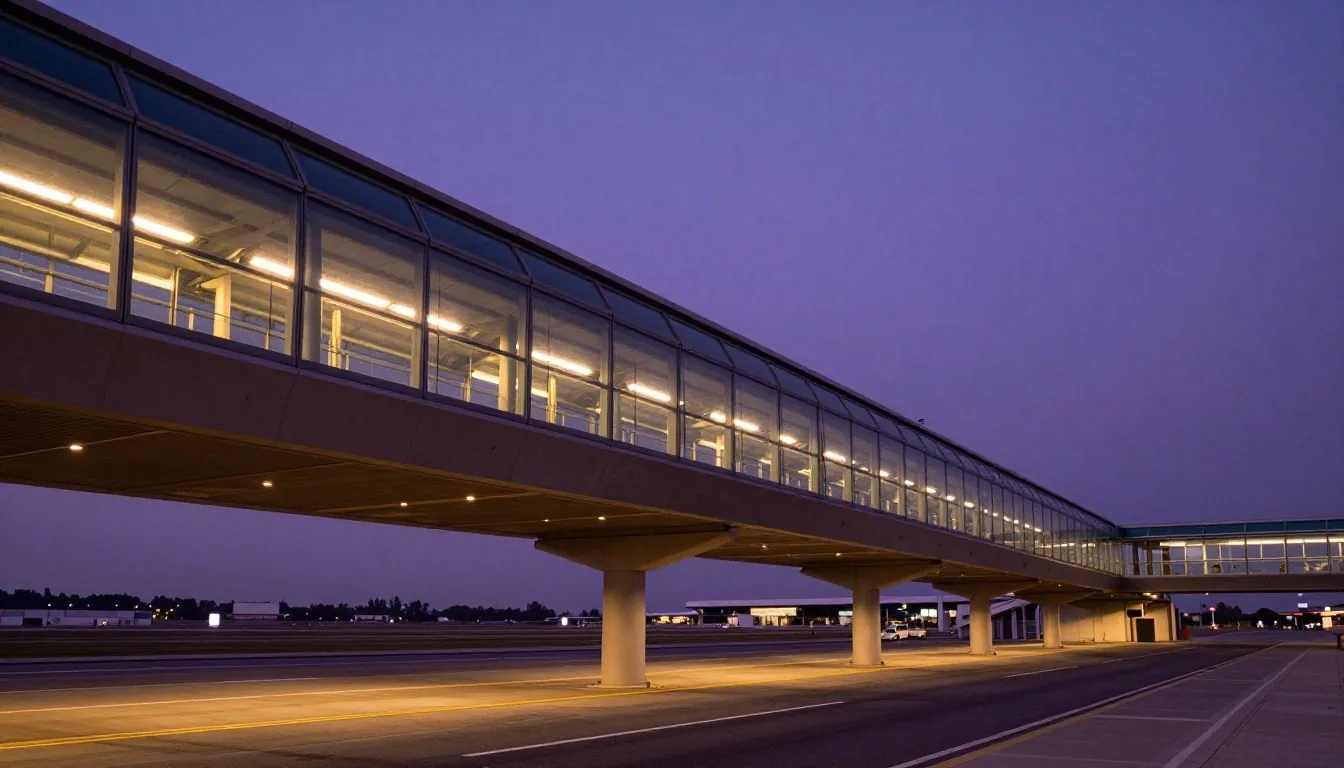
Melbourne Airport operates four distinct passenger terminals arranged in an integrated pedestrian semi-circle along Melbourne Airport Drive. Terminal 1, Terminal 2, and Terminal 3 form a unified concourse, while Terminal 4 sits south as an independent transport hub. Understanding how parking structures connect to each specific terminal saves valuable walking time, particularly when travelling with heavy luggage, child strollers, or reduced mobility requirements.
Terminal 1 manages domestic and regional flights for Qantas and QantasLink. Terminal 2 handles all international arrivals and departures across dozens of international carriers. Terminal 3 serves Virgin Australia domestic routes. Terminal 4 accommodates Jetstar, Rex, and selected regional services. While Terminals 1, 2, and 3 are housed within a continuous interior building, Terminal 4 requires a short walk through a dedicated southern corridor and ground transport hub.
North wing of the main terminal complex. Direct ground walkways and internal corridors from the multi-level parking deck.
Central concourse anchor. Features direct elevated pedestrian skybridges connecting Level 2 parking straight into departures.
South-central domestic pier. Seamlessly joined to T2 international halls, with rapid pedestrian ground-level zebra crossings.
Dedicated southern precinct. Served by its own distinct transport hub structure with internal retail and check-in hall.
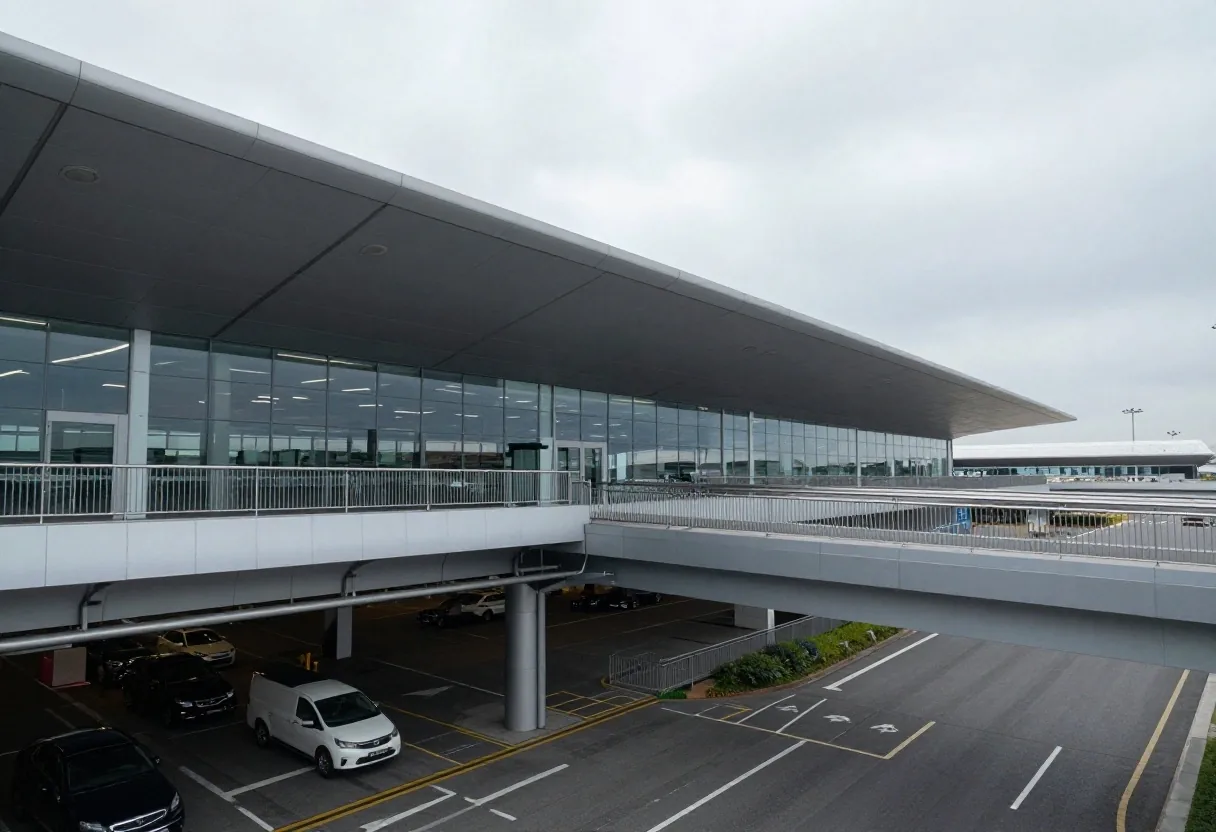
Level 2 Pedestrian Link: Direct access into Terminal 2 International Check-in
The primary multi-level car park stands directly opposite Terminals 1, 2, and 3. Level 2 of this car park features elevated pedestrian bridges that connect straight into the departures concourse of Terminal 2, avoiding ground vehicle traffic entirely. Ground level footpaths lead directly into the baggage reclaim and arrivals areas of Terminals 1 and 3.
Total walking time from parked bays to airline check-in desks varies between three and six minutes, depending on whether your space sits in northern, central, or southern parking aisles. When choosing terminal 2 parking access, opting for Level 2 or Level 3 spaces puts you within arm’s reach of the bridge elevators.
Travellers with oversized sports luggage or prams can utilize the wide dual-carriageway lifts situated at every central stairwell pillar. Digital wayfinding displays at each lift threshold provide real-time flight queue summaries so you know precisely which concourse entrance to take.
Terminal 4 features its own multi-level transport and parking hub, physically separated from the central terminal car park. Motorists accessing T4 must follow overhead directional gantries along Mercer Drive leading into the dedicated multi-deck facility.
From your parking bay within the T4 structure, dedicated lifts and escalators take you to the Level 1 transport lounge. From there, a sheltered 150-metre walkway leads directly into the Terminal 4 security screening area, requiring a total transit time of roughly four to eight minutes.
When utilizing terminal 4 parking melbourne, travellers should note that the ground floor houses the public bus interchange and ride-share loading zone. Parking tiers run across upper storeys, which are fully linked by high-capacity glass lifts engineered for heavy luggage trollies.
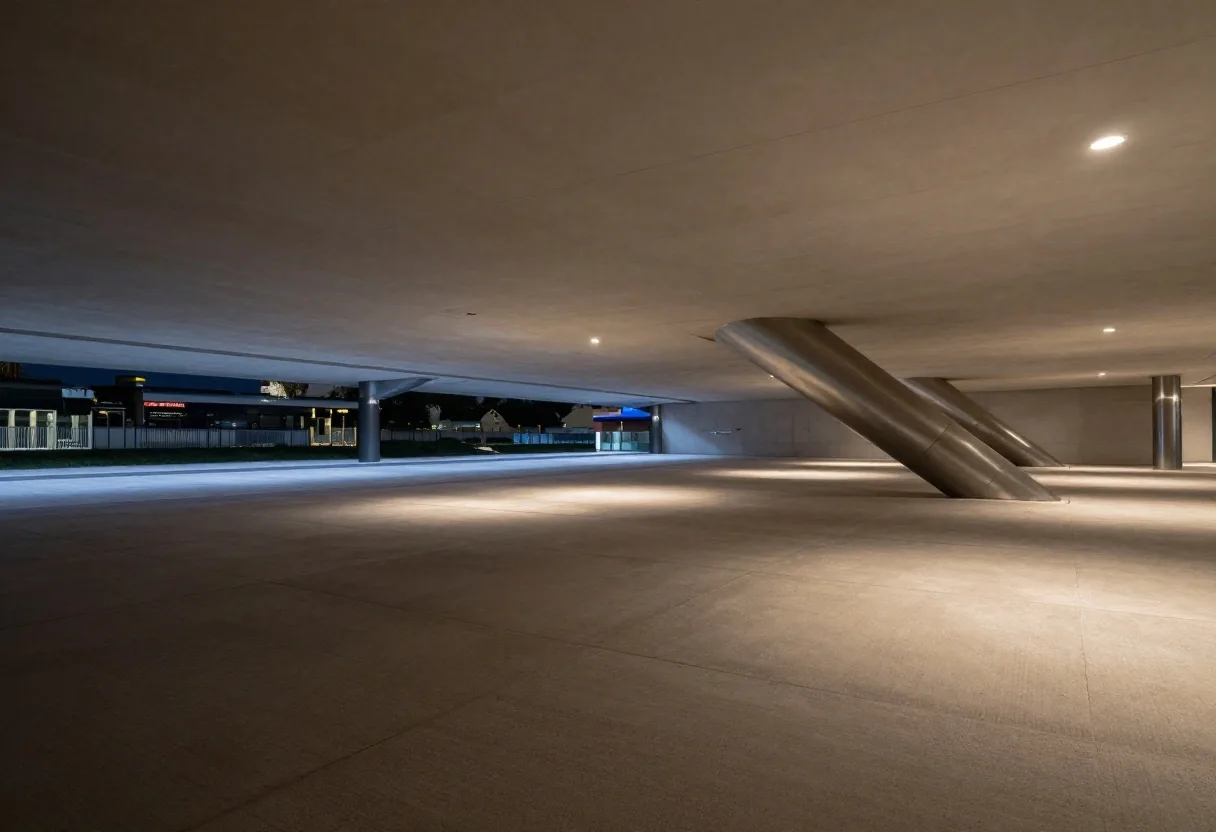
Dedicated multi-deck structure with seamless direct connection to Jetstar concourse
Passengers transferring from Virgin Australia in Terminal 3 to Jetstar or Rex in Terminal 4 must navigate an outdoor covered connection pathway. The walking distance measures approximately 400 metres and takes five to seven minutes on foot. The path follows the kerbside concourse, featuring complete weather awnings, level concrete pavements, and directional signage. Travellers parking in the T1, 2, and 3 garage who need to reach T4 can use this connecting route, though parking directly inside the T4 garage is substantially more practical.
Total transfer distance is roughly 400 metres. At standard walking pace with rolling bags, budget between 5 and 7 minutes. The surface consists of slip-resistant poured concrete with gentle gradient changes suitable for baggage trollies.
The full inter-terminal linkway is protected by industrial cantilever awnings shielding passengers from rain and midday sun. Wind deflection screens border the roadway edge, maintaining a comfortable walking channel year-round.
If departing on Jetstar from T4, it is always recommended to book the T4 multi-deck directly. Crossing from T1-T3 parking adds avoidable transit time, especially during peak afternoon departure peaks on airport parking melbourne arterial lanes.
All parking garages at Melbourne Airport incorporate dedicated accessible parking bays positioned immediately adjacent to lift lobbies and pedestrian bridge entrances. Bays are clearly marked with international access symbols and feature wider clearance zones for mobility equipment transfers. Lifts feature low-mounted braille buttons, voice floor announcements, and wide doors. Travellers requiring wheelchair assistance from their parked car to the terminal gate should coordinate with their operating airline at least 48 hours before departure.
Reaching Melbourne Airport by car involves the Tullamarine Freeway (M2), which terminates directly inside airport boundaries. As you approach the airfield, the freeway splits into elevated and surface approach roads. Overhead gantry signs clearly mark lanes for Terminal 1, 2, and 3 Car Park, Terminal 4 Car Park, and Value Car Park. Missing the Mercer Drive exit for Terminal 4 or Value parking will divert you through the main terminal forecourt loop, requiring an extra five to ten minutes of navigation through local traffic.
Primary express link from Melbourne CBD. Stay in the center or right lanes as you pass Western Ring Road (M80) interchange to avoid sudden deceleration.
Crucial left branch lane. Take this exit if directed to Terminal 4 multi-deck or the outdoor Value Car Park. Signs appear 1.2km prior to terminal grounds.
Straight ahead lanes for T1, T2, and T3 parking and departures forecourt. If you miss your lane, follow the loop around Centre Road to return.
Entry barriers at the central T1, T2, and T3 car park enforce a strict maximum vehicle height limit of 2.25 metres. The Terminal 4 multi-level car park enforces a slightly lower limit of 2.15 metres due to interior structural air-handling ducts and beam designs. Sensor bars at the entry approaches sound alarms if an approaching vehicle exceeds these thresholds. Drivers operating commercial vans, campervans, or passenger vehicles with roof luggage racks must divert to the open-air Value Car Park or nearby ground-level commercial parking depots.
Standard 4WDs, SUVs, and passenger sedans fit comfortably. Check total clearance if equipped with ski racks, bicycle carriers, or raised off-road suspension.
Enforces a lower barrier limit due to mechanical ventilation ducting on lower levels. High-roof four-wheel drives must confirm roof-load measurements.
Ideal for commercial vans, high-top campervans, vehicles with roof cargo pods, and oversized trailers. Includes frequent shuttle bus pickup to all terminals.
Kerbside drop-off zones run along the elevated departure road directly outside Terminals 1, 2, and 3, and along the ground-level approach for Terminal 4. These zones are reserved exclusively for rapid drop-offs where passengers immediately exit with their luggage; unattended vehicles are towed immediately. For collecting arriving passengers, motorists should use the designated 30-minute express pickup areas located inside the ground floor of the terminal car parks or wait in the free Mercer Drive staging area until passengers reach the kerb.
Accessible via the upper roadway ramp directly facing check-in entrances for T1, T2, and T3. Designed strictly for farewells: the driver must stay seated inside the car. Turning off your engine or leaving the vehicle unattended results in immediate enforcement fines.
Positioned on the ground level of both the T1-T2-T3 multi-deck and T4 transport structure. To avoid congestion, airport parking melbourne advises drivers to hold in the free 30-minute Mercer Drive waiting loop until your traveller calls from the carousel hall.
Review the airfield road system below to plan your arrival via Arrivals Drive and the Tullamarine Freeway arterial corridor.
Yes. The outdoor covered pathway between T3 and T4 is built with flush concrete surfaces, smooth expansion joints, and gradual ramps designed to accommodate standard airport baggage trollies. Trolley return corrals are located at both ends of the connector.
Your parking ticket remains valid across all official multi-deck garages. However, you will need to walk an extra 400 metres south past Virgin Australia concourse (T3) to reach Terminal 4. We recommend parking in the dedicated T4 structure if departing on Jetstar or Rex.
Yes, the Level 2 skybridge is entirely flat and enclosed, with wide automated sliding doors and direct elevator access to check-in desks. It is the preferred path for families with young children, child strollers, and passengers with heavy wheeled bags.
Drivers can utilize the free 30-minute driver waiting zone situated off Mercer Drive. Once your passenger clears international customs and baggage claim, have them phone you, and you can drive into the Ground Level express pickup zone in under two minutes.
Review full daily pricing structures, compare short-stay drive-up rates with long-term value options, and book parking that fits your airline departure gate.